installation & operation
LightShield Installation instructions
NOTE: READ INSTRUCTIONS COMPLETELY BEFORE INSTALLATION OR USE OF THIS PRODUCT. PROFESSIONAL INSTALLATION IS RECOMMENDED.
1
MOUNTING:
Attach mounting brackets to sides of light bar. Mount light bar in desired location and degree. Use caution when mounting this product on your vehicle.

2
WIRING WITH INCLUDED HARNESS:
Dual switch wire harness with 2x 40AMP relays and waterproof 3-way DT connectors included. Please carefully inspect all parts before wiring.

I
II
Now carefully route the wire harness from the mounted switch to the battery and then to the LightShield LED light bar. Connect the fused red wire to the positive (+) power source (battery terminal OK). Connect the black ground wire to a ground source or negative (-) battery terminal.
III
With all connections & wires secured, connect the weatherproof 3-way DT connector from the harness to the LightShield. Test the light at this time.
IV
Adjust your light bar to desired position and enjoy your new LightShield!
How to operate LightShield
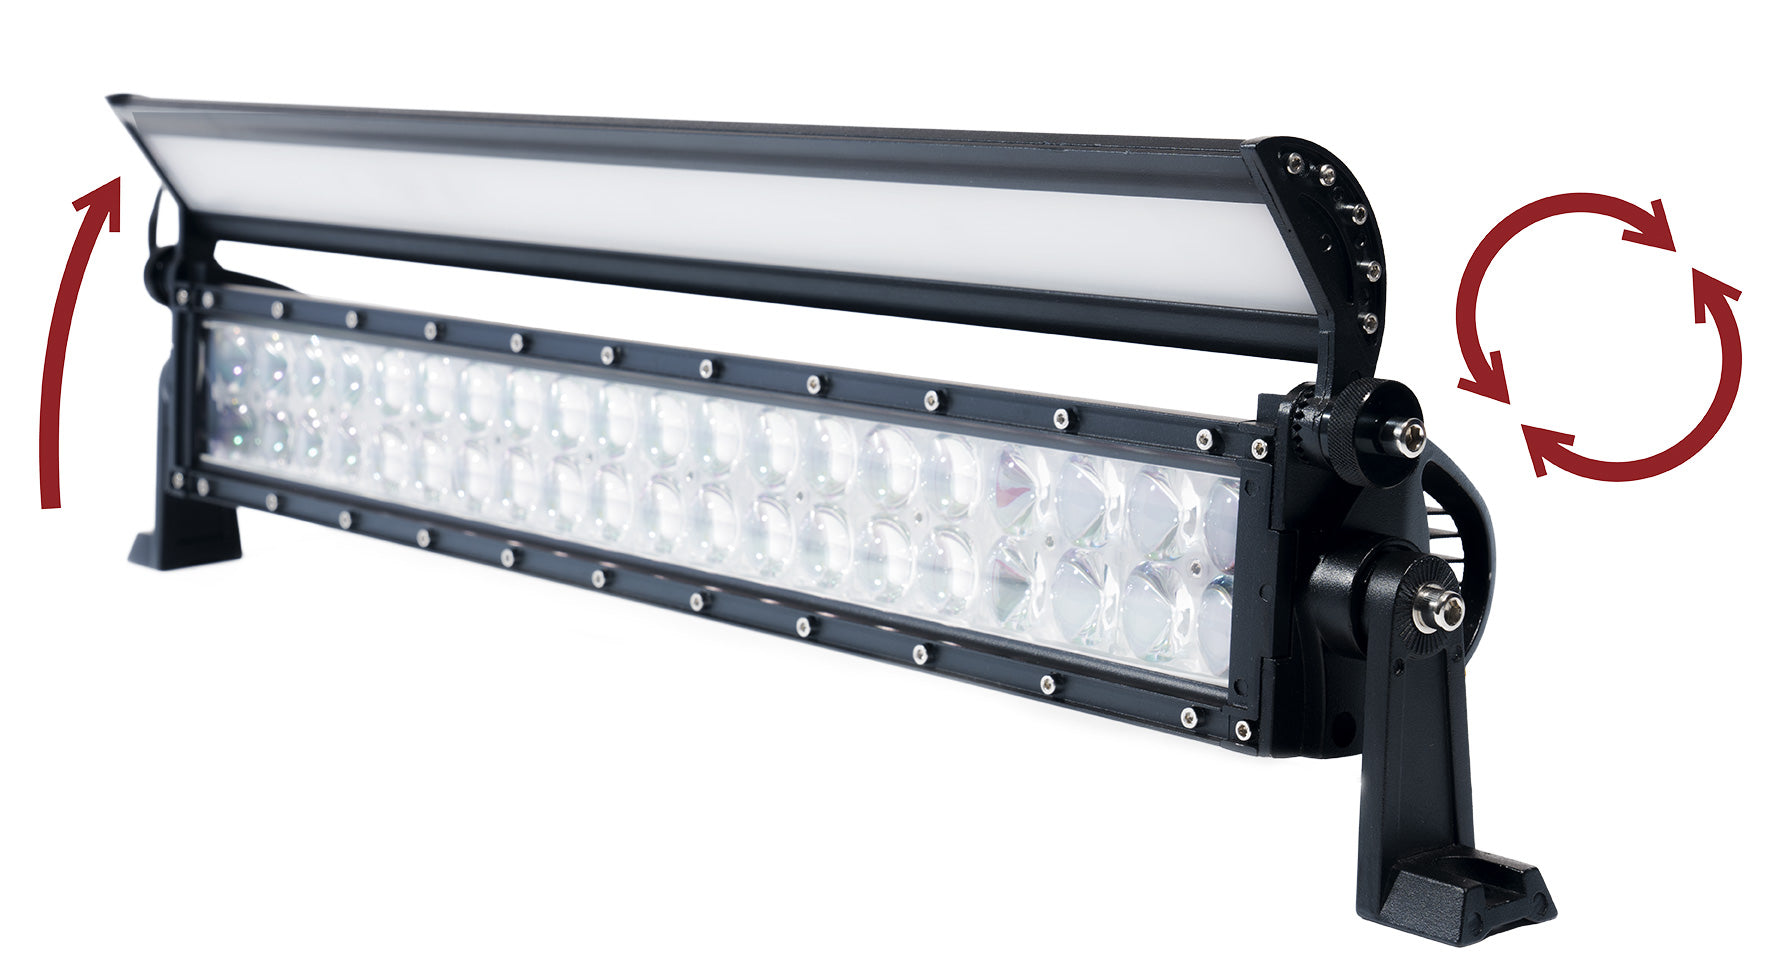

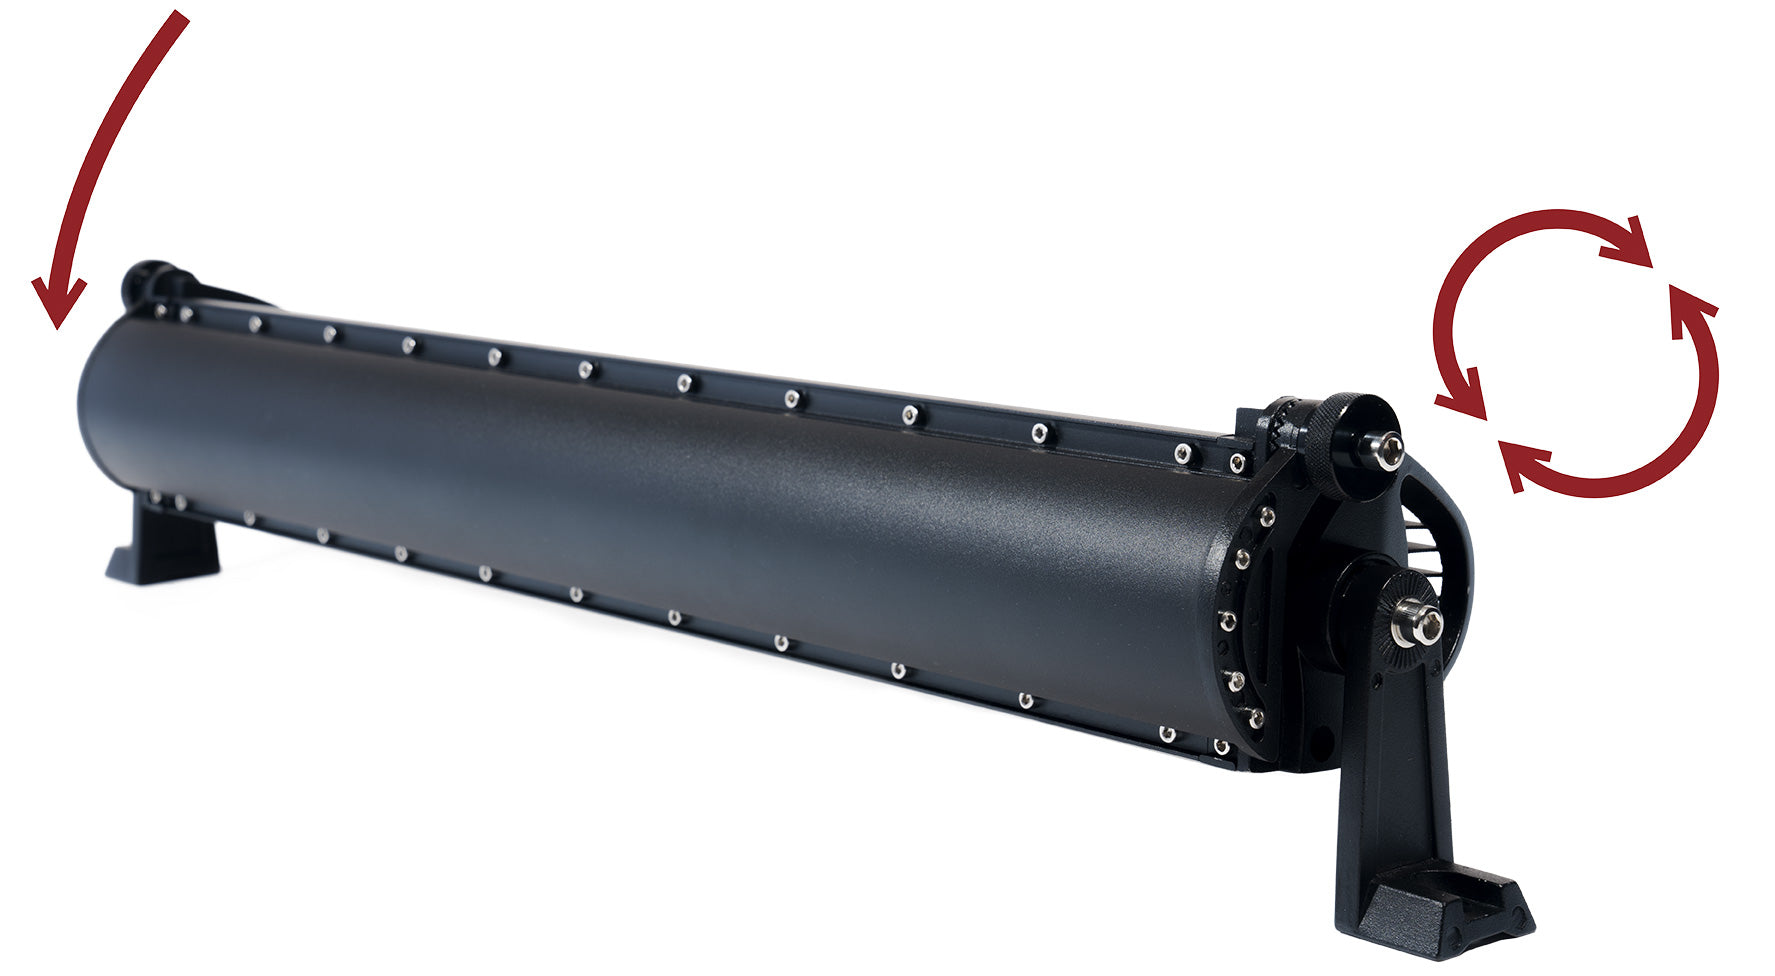

To open/close, gently hold on to cover and loosen the knob ONLY ON THE GEAR SIDE until cover is able to move smoothly.


Adjust to desired angle and tighten the knob completely to keep it fixed into position.


DO NOT adjust the side without gears.
